If you currently running a ticketing platform and feel like it’s lacking in some areas, you might want to try osTicket. It comes with intuitive mechanisms that allow you to easily migrate from popular solutions to osTicket. osTicket helps you manage issues and customer request via its rich and simple dashboard, which allows you to add, edit, and delete your help desk topics that suit your preference, ticket filtering, and much more. For more about osTicket, please check its homepage. To get started with installing osTicket, follow the steps below:
How to install Apache on Ubuntu Linux
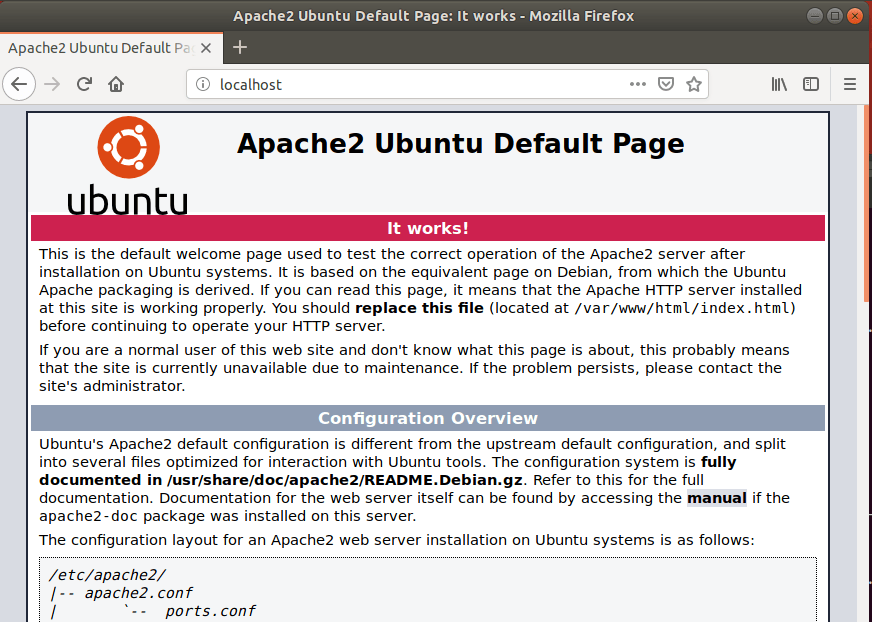
osTicket requires a web server and the Apache2 HTTP server is the most popular open-source web server available today. To install the Apache2 server, run the commands below: After installing Apache2, the commands below can be used to stop, start and enable the Apache2 service to always start up with the server boots. Now that Apache2 is installed. to test whether the web server is working, open your browser and browse to the URL below. http://localhost If you see the page above, then Apache2 is successfully installed.
How to install MariaDB on Ubuntu Linux
osTicket also requires a database server to store its content. If you’re looking for a truly open-source database server, then MariaDB is a great place to start. To install MariaDB run the commands below: After installing MariaDB, the commands below can be used to stop, start and enable the MariaDB service always to start up when the server boots. Run these on Ubuntu 16.04 LTS Run these on Ubuntu 18.10 and 18.04 LTS Next, run the commands below to secure the database server with a root password if you were not prompted to do so during the installation. When prompted, answer the questions below by following the guide.
Enter current password for root (enter for none): Just press the Enter Set root password? [Y/n]: Y New password: Enter password Re-enter new password: Repeat password Remove anonymous users? [Y/n]: Y Disallow root login remotely? [Y/n]: Y Remove test database and access to it? [Y/n]: Y Reload privilege tables now? [Y/n]: Y
Now that MariaDB is installed, to test whether the database server was successfully installed, run the commands below. type the root password when prompted. If you see a similar screen as shown above, then the server was successfully installed.
How to install PHP on Ubuntu Linux
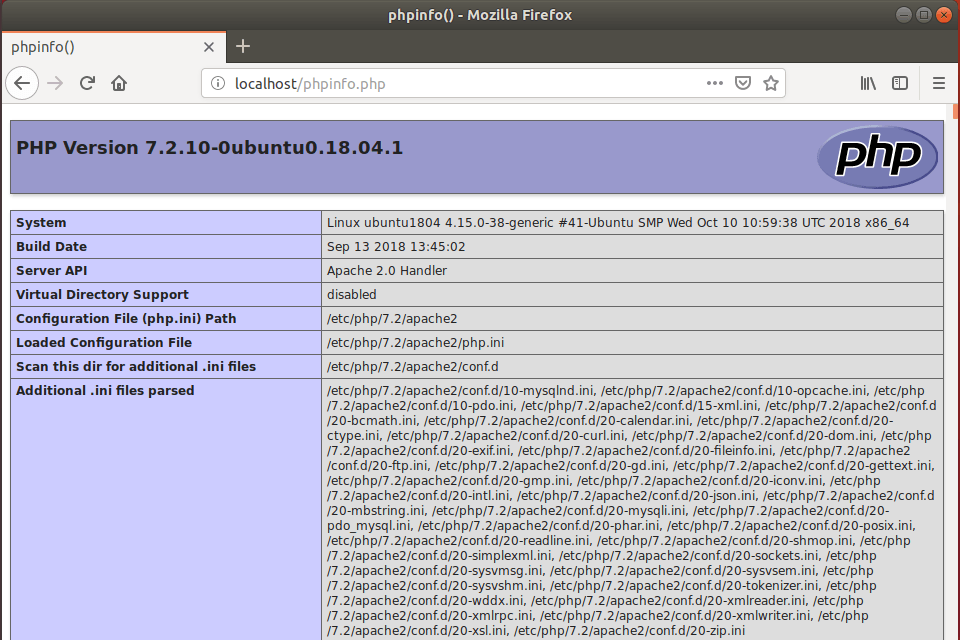
osTicket is a PHP-based platform. and PHP 7.2 may not be available in Ubuntu’s default repositories. To run PHP 7.2 on Ubuntu 14.04, you may need to run the commands below: Then update and upgrade to PHP 7.2 Next, run the commands below to install PHP 7.2 and related modules. After installing PHP 7.1, run the commands below to open the PHP default configuration file for Apache2. The lines below are a good setting for most PHP-based CMS. Update the configuration file with these and save. Every time you make changes to the PHP configuration file, you should also restart the Apache2 web server. To do so, run the commands below: Now that PHP is installed, to test whether it’s functioning, create a test file called phpinfo.php in the Apache2 default root directory. ( /var/www/html/) Then type the content below and save the file. Next, open your browser and browse to the server’s hostname or IP address followed by phpinfo.php http://localhost/phpinfo.php You should see the PHP default test page.
How to create an osTicket database
Now that you’ve installed all the packages that are required for osTicket to function, continue below to start configuring the servers. First, run the commands below to create a blank osTicket database. To log on to the MariaDB database server, run the commands below. Then create a database called osticket Create a database user called osticketuser with a new password Then grant the user full access to the database. Finally, save your changes and exit.
How to download osTicket
osTicket community edition can be downloaded from its download page here. To get osTicket latest release you may want to use the GitHub repository… Install the git tool to download Bagisto packages…. After installing the curl above, change into the Apache2 root directory and download osTicket packages from GitHub… Rename the sample file include/ost-sampleconfig.php to ost-config.php by running the commands below: Next, run the commands below update osticket root directory permissions so the web server can access it.
How to configure osTicket Apache virtual host
Finally, configure the Apahce2 site configuration file for osTicket. This file will control how users access osTicket content. Run the commands below to create a new configuration file called a ticket. conf Then copy and paste the content below into the file and save it. Replace the highlighted line with your domain name and directory root location. Save the file and exit.
How to enable the osTicket virtual host
After configuring the VirtualHost above, enable it by running the commands below Then open your browser and browse to the server domain name. You should see the osTicket setup wizard complete. Please follow the wizard carefully. http://example.com/ Then follow the on-screen instruction to complete the setup. Before you begin, the installer will check your server configuration to make sure you meet the minimum requirements to run the latest version of osTicket. Next, type in the database name, username, and password. then create a backend admin account and continue. Your osTicket installation has been completed successfully. Your next step is to fully configure your new support ticket system for use, but before you get to it please take a minute to clean up. Conclusion: You have successfully learned how to install the osTicket platform on Ubuntu. You may need to configure additional settings, but the steps above give you a basic starting point. If you find errors with the steps above, please comment below:


