A common issue is either the physical data or the power connection. If that’s not the case, perhaps your hard drive doesn’t have an assigned drive letter, and that’s why it doesn’t appear in the file explorer (maybe you forgot to format your hard drive?). When your hard drive doesn’t show up on Windows, there are several troubleshooting steps you can follow. This article will show you how to fix it with Windows 10’s Disk Management and Device Manager tools and a few more tips.
Physical Troubleshooting
Before tweaking various systems settings, you should make sure your hard drive is in working condition and properly connected. Follow the troubleshooting steps below:
Make sure the hard drive is properly connected to your computer and that it’s powered up.Inspect the data and power cables that connect your drive to the motherboard and power supply. Try a different SATA port and use a different SATA cable. Unplug your computer before going inside the case.Remove the hard drive and test it using a different computer.If you have another hard drive lying around, connect it to see if Windows will automatically detect it and set it up.Go to your computer’s BIOS settings and check whether your computer is detecting the hard drive at all.
Once you determine that this isn’t a hardware-related problem, you can try one of the fixes below.
Fix Hard Drive Not Showing Up Using Device Manager
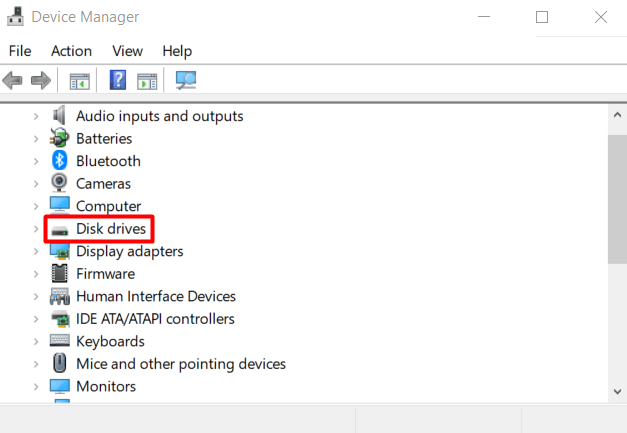
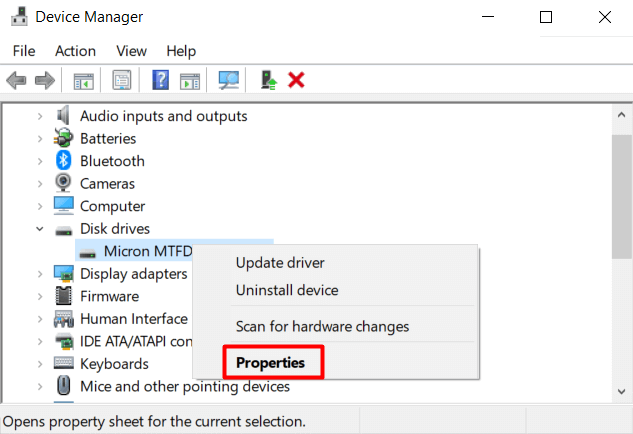
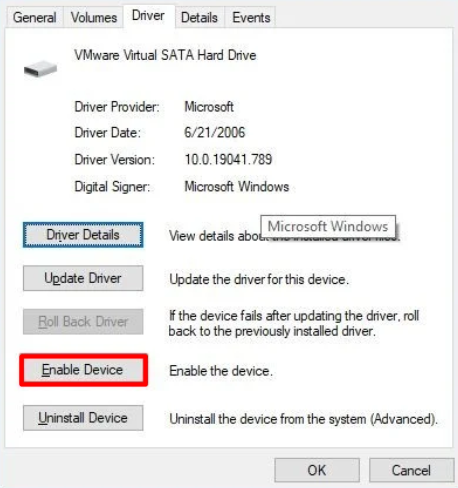
When your hard drive doesn’t show up in the File Explorer or Disk Management tool, it usually means it’s disabled. To enable the hard drive, we’re going to use Device Manager. Search for Device Manager using Windows’ search bar or locate it inside the Control Panel. Open it and find the Disk drives section. Expand Disk Drives, locate your hard drive, right-click it and select Properties from the menu. Inside the Properties panel, select the Driver tab and click on the Enable Device button. Click OK, and your hard drive should become visible.
Fix Hard Drive Not Showing Up Using Disk Management
If your internal hard drive still isn’t showing up on Windows 10, you should follow these steps using the Disk Management tool:
Set the hard drive onlineInitializeAssign a drive letterConfigure partition
Bring Hard Drive Online
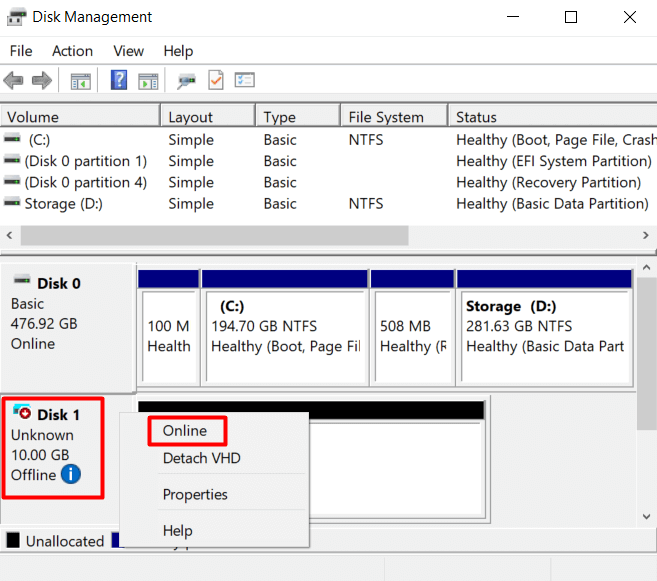
Search for Disk Management using the Windows 10 search bar. The top result should be Create and format hard disk partitions. Click it to open the Disk Management tool. Alternatively, you can press the Windows key + X and select Disk Management from the list. You should now see a panel with all your hard drives. Look for the one that is labeled offline, right-click it and select Online from the menu. This will bring the drive online. If you correctly configured your hard drive at some point, you should now see it inside the File Explorer. If it wasn’t, continue with the next steps.
Initialize Hard Drive
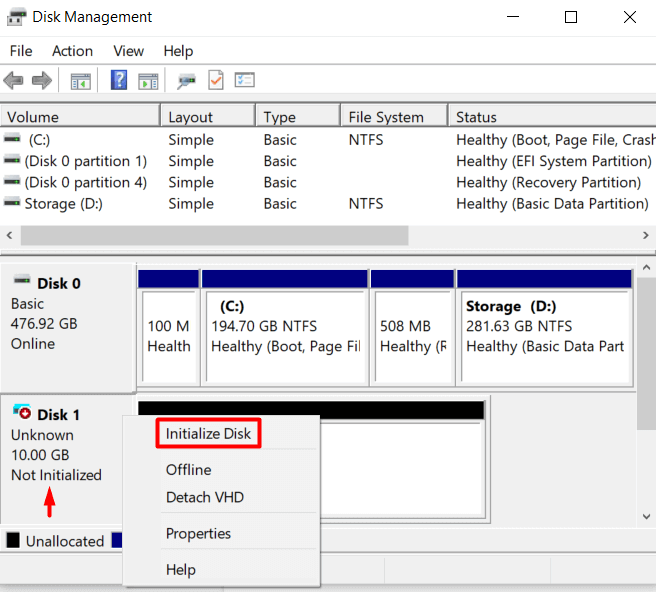
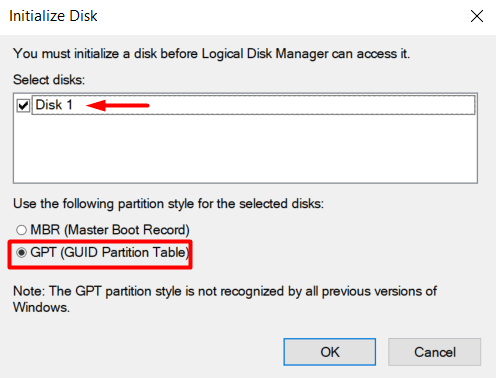
After bringing the drive online, go back to the Disk Management tool, right-click the drive, and choose Initialize Disk from the menu. This will open a menu where you need to make sure you’ve selected the disk you’re initializing. Also, check the GPT partition style. If your drive is being initialized for the first time, it will still not appear in the File Explorer. This is because your hard drive has to be formatted.
Drive Partition Configuration
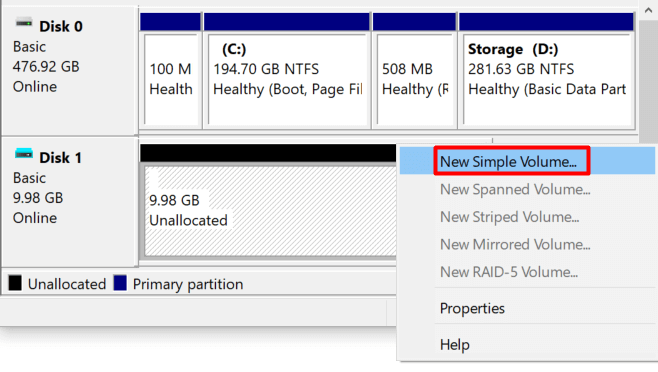
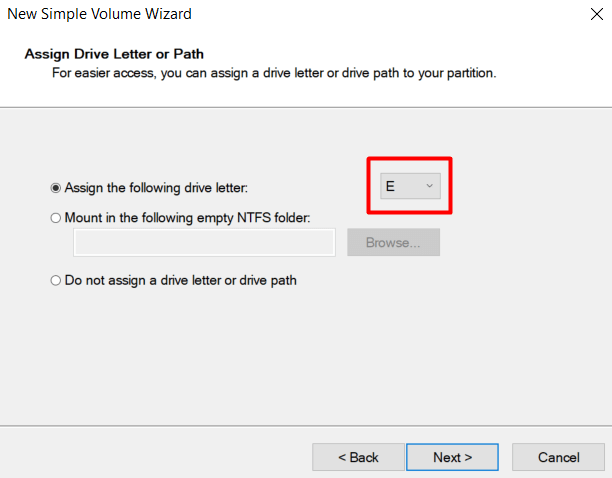
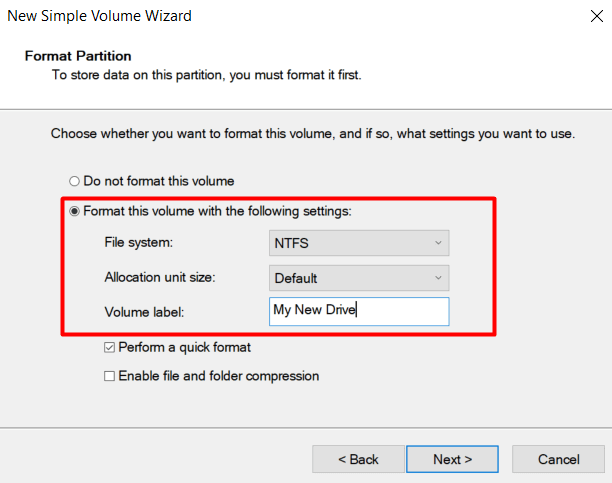
An existing hard drive and a new one won’t show up if it doesn’t have a drive letter and isn’t formatted. The same thing can happen if you’re transferring an already configured drive from one computer to another if you have two drives with the same drive letter. So let’s assign a new letter and begin the configuration process. Go back to the Disk Management tool, select the driver in question, right-click it, and choose New Simple Volume if it doesn’t have a drive letter assigned. If you just need to change it due to a letter conflict, select Change Drive Letter and Paths instead and check if the drive is now visible. Go through the formatting process with the default settings. Next, choose a drive letter from the drop-down menu and click Next. Format the new drive and give it a label. Click the Next button and Finish. Windows should correctly configure the drive, and it should show up in File Explorer. If your hard drive still isn’t showing up, try updating your drivers and make sure your drive is clean.
Update Your Drivers
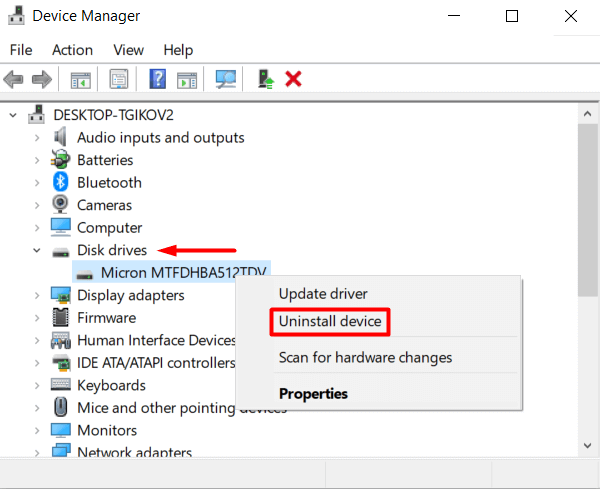
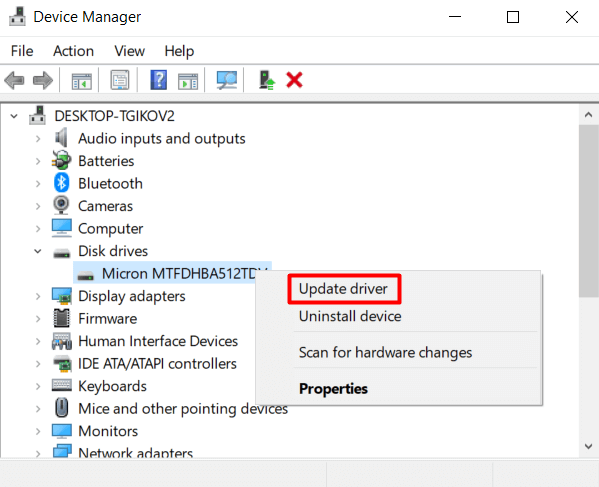
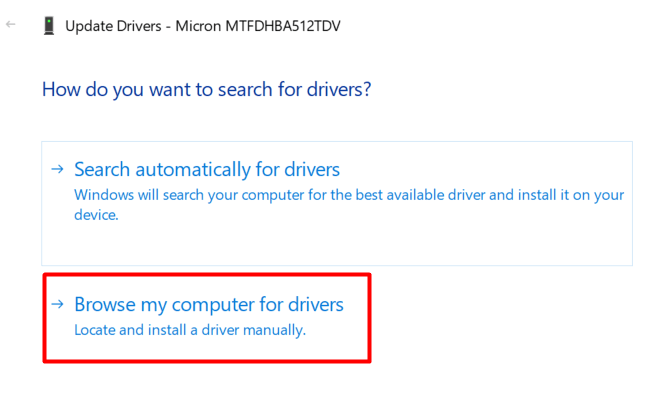
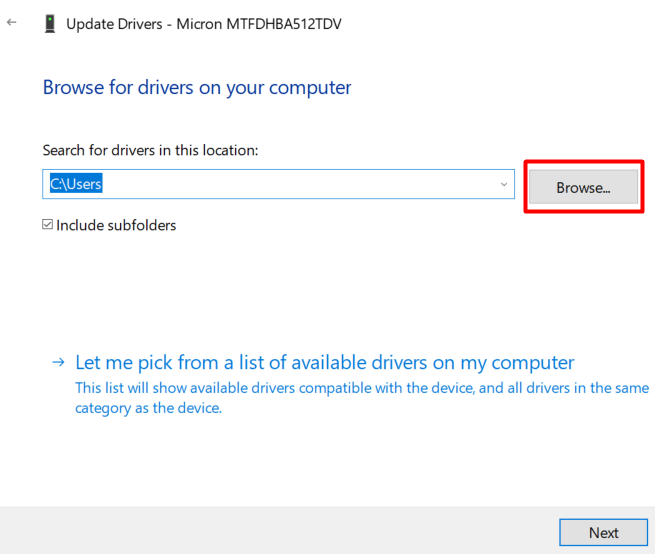
You’re probably sick of hearing “update your drivers” whenever you have any computer problem, but the truth is that it works in a lot of cases. So, let’s just make sure your drivers aren’t the ones preventing your hard drive from showing up on Windows 10. Go to your Device Manager and locate your drive under Disk Drives. Right-click it and select Uninstall device from the menu. Now restart your computer, and Windows 10 will automatically reinstall the driver. If this didn’t work, but the problem is still driver-related, go to the manufacturer’s website and download the latest driver. It usually comes in a compressed zip folder, so if it does, make sure to unpack it before doing anything else. Next, go to the Device Manager again, right-click your hard drive, and select Update Driver. In the newly opened window, choose the Browse my computer for drivers option. This allows you to select the driver folder you’ve just downloaded from the manufacturer’s website. In the next panel, click on the Browse button to locate the driver folder and make sure you also tick the Include subfolder box. Click Next and your driver will be installed.
Clean Your Hard Drive With DiskPart
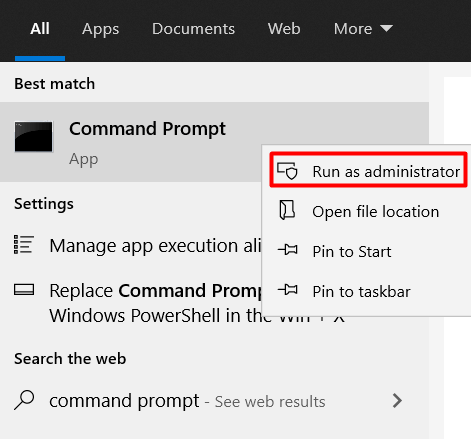
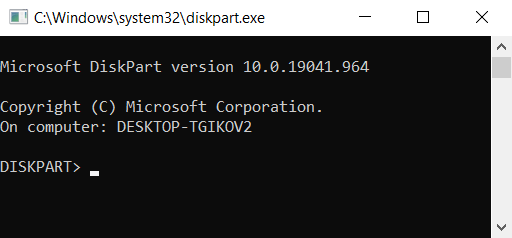
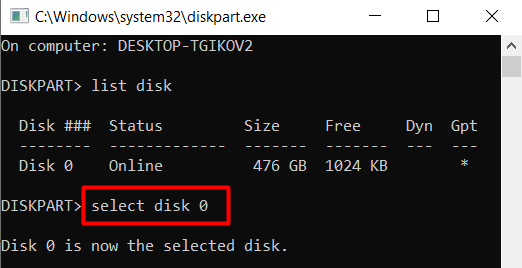
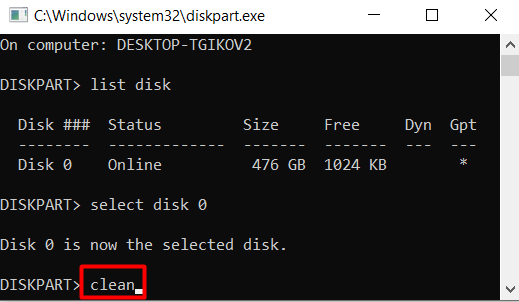
DiskPart is a Windows command-line disk partitioning tool that allows you to manage your hard drives. In essence, it’s the command-line version of the Disk Management tool, however, it can perform more functions. We will use it to clean the hard drive and bring it back to its default state. In some cases, you can see the drive in the Disk Management app, but you can’t configure it for various reasons. This is where DiskPart can come in handy. Just take note that when you use this command-line tool, you won’t get any warnings. You need to be sure of any operation you perform. That said, let’s open the Command Prompt. Type “command prompt” in the search box, and choose to run the application as administrator. Type the following command to launch the DiskPart tool: diskpart A new window will open with the DiskPart tool running. Next, you need to list all your hard drives. Type the following command: list disk Select the hard drive that you’re having issues with by typing the following command: select disk 0 Replace 0 with your disk’s number. Finally, erase the hard drive by using the following command: clean Keep in mind that this command will wipe the drive completely. It won’t have any label, and it won’t be initialized. You will have to follow the previously mentioned formatting steps. You can use DiskPart to create and format hard drive partitions or go back to the Disk Management tool. Is your hard drive showing up now? Which solution worked for you? Let us know in the comments below!