Using third-party websites such as DaFont or 1001 Free Fonts, you can browse their wide selections and download new and unique fonts for free. If you’d like something more premium, there are also plenty of sites where you can buy more quality-controlled fonts to install and use, like FontShop or FontSpring. However, you may be lost as to how you go about installing them into Microsoft Word. It’s actually incredibly simple to do. All you need to do is find the font you want to use, then follow the steps below to install it.
Finding a Font to Install
There are thousands of free fonts across the web available to you to add fonts to Microsoft Word, although they will have differing levels of quality. Also be sure that the websites you are downloading your fonts from are legitimate. It is always possible that the file you are downloading could be unsafe, so be sure to vet the site before you complete any downloads. Once you find a site, browse the fonts and choose one that fits whatever style you have in mind. As you search, note some of these aspects you should look for:
Is the font easy to read? Will you be able to bold, italicize, or underline it?Does the font set include numbers and special characters?
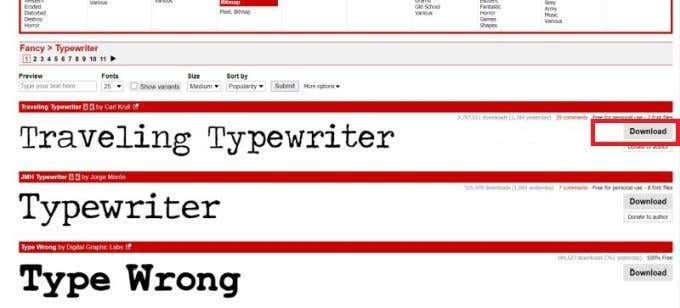
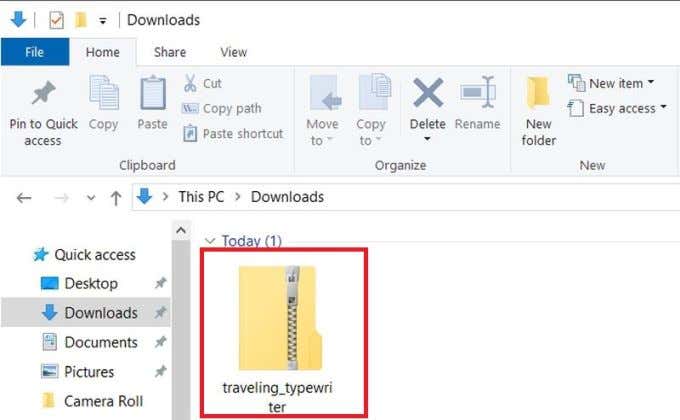
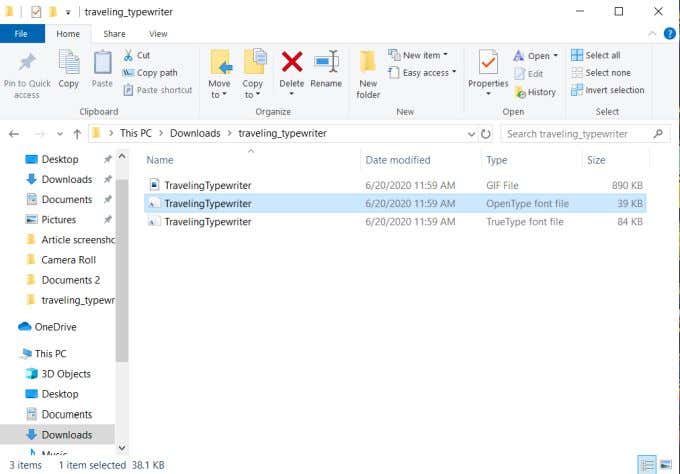
When you have found one you would like to install, there will likely be a download button nearby, and clicking it will save a .zip file of the font to your computer. In this example, I am using the site DaFont. Once downloaded, you can then either click on the file in your browser, or locate it in your file manager.
Installing The Font On Microsoft Word
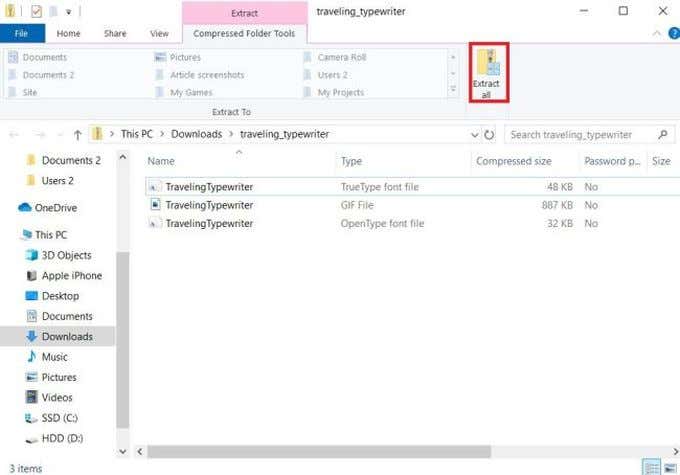
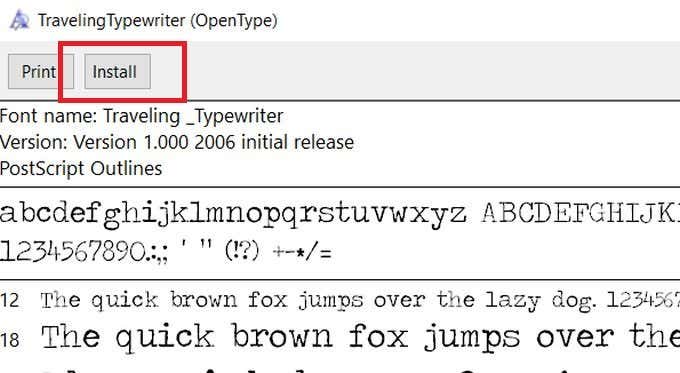
Now that you have found and downloaded a font set, locate and open the file. Follow these next steps to easily add the font to Microsoft Word. Additionally, another option to install your font would be to drag and drop the font file into the Fonts window from the Control Panel. You can now use your new font in Microsoft Word.
Using Your Installed Font In Word
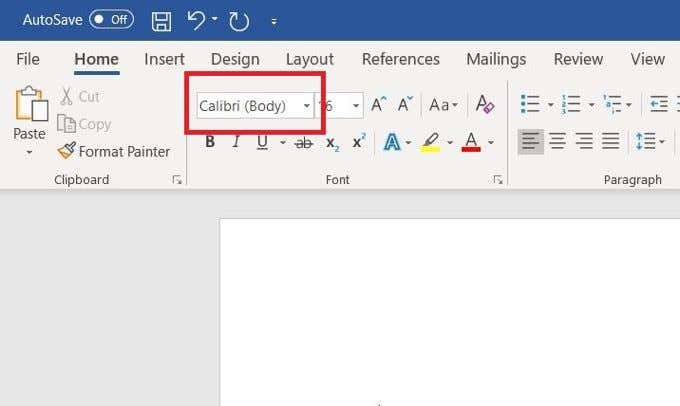
With the new font installed, you should easily be able to select it to type into your Word documents. After you open up Word, you should see a box near the top left of the screen showing the font you’re currently using. Click on the arrow on this box to open a drop-down menu of every font available to use. You can either scroll through the list and find your newly installed font, or type the name of the font into the box to bring it up quickly. Once selected, you can now begin typing with your font. Newly installed fonts work the same as pre-installed ones, though depending on the font you are using, some functionalities may be limited. Be sure to see if there is a description of the font you’re using that may list some of these limitations. For example, there are many fonts out there that do not allow you to use lower-case characters, or vice-versa. Also keep in mind whether you are using the font for commercial or personal purposes. On most sites, the intended use for a specific font will be listed. Most free fonts are actually created by artists not associated with the site itself, and are providing their created fonts to the site for free. This means they cannot be licensed to be used by you commercially unless you pay for the font or get permission from the artist.
How To Delete a Font
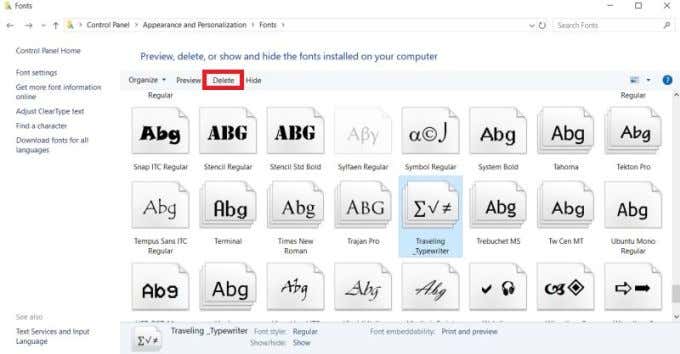
If you would like to delete a previously installed font to clear up space, or you find that you dislike the font you chose, it is just as simple to accomplish. Your font will now be deleted and will no longer show up in Word documents it was used in. Any font can be deleted, including pre-installed ones.